A Wine Lover's Worst Nightmare

I love wine. All types of wine, but I tend to drink more red wine than white / rose (this might be made obvious by the content found in my Vino Journals). And, as a wine enthusiast, I’ve become increasingly aware of the side effects the darker colored liquid may have on a pearly white smile. CUE MINI PANIC.
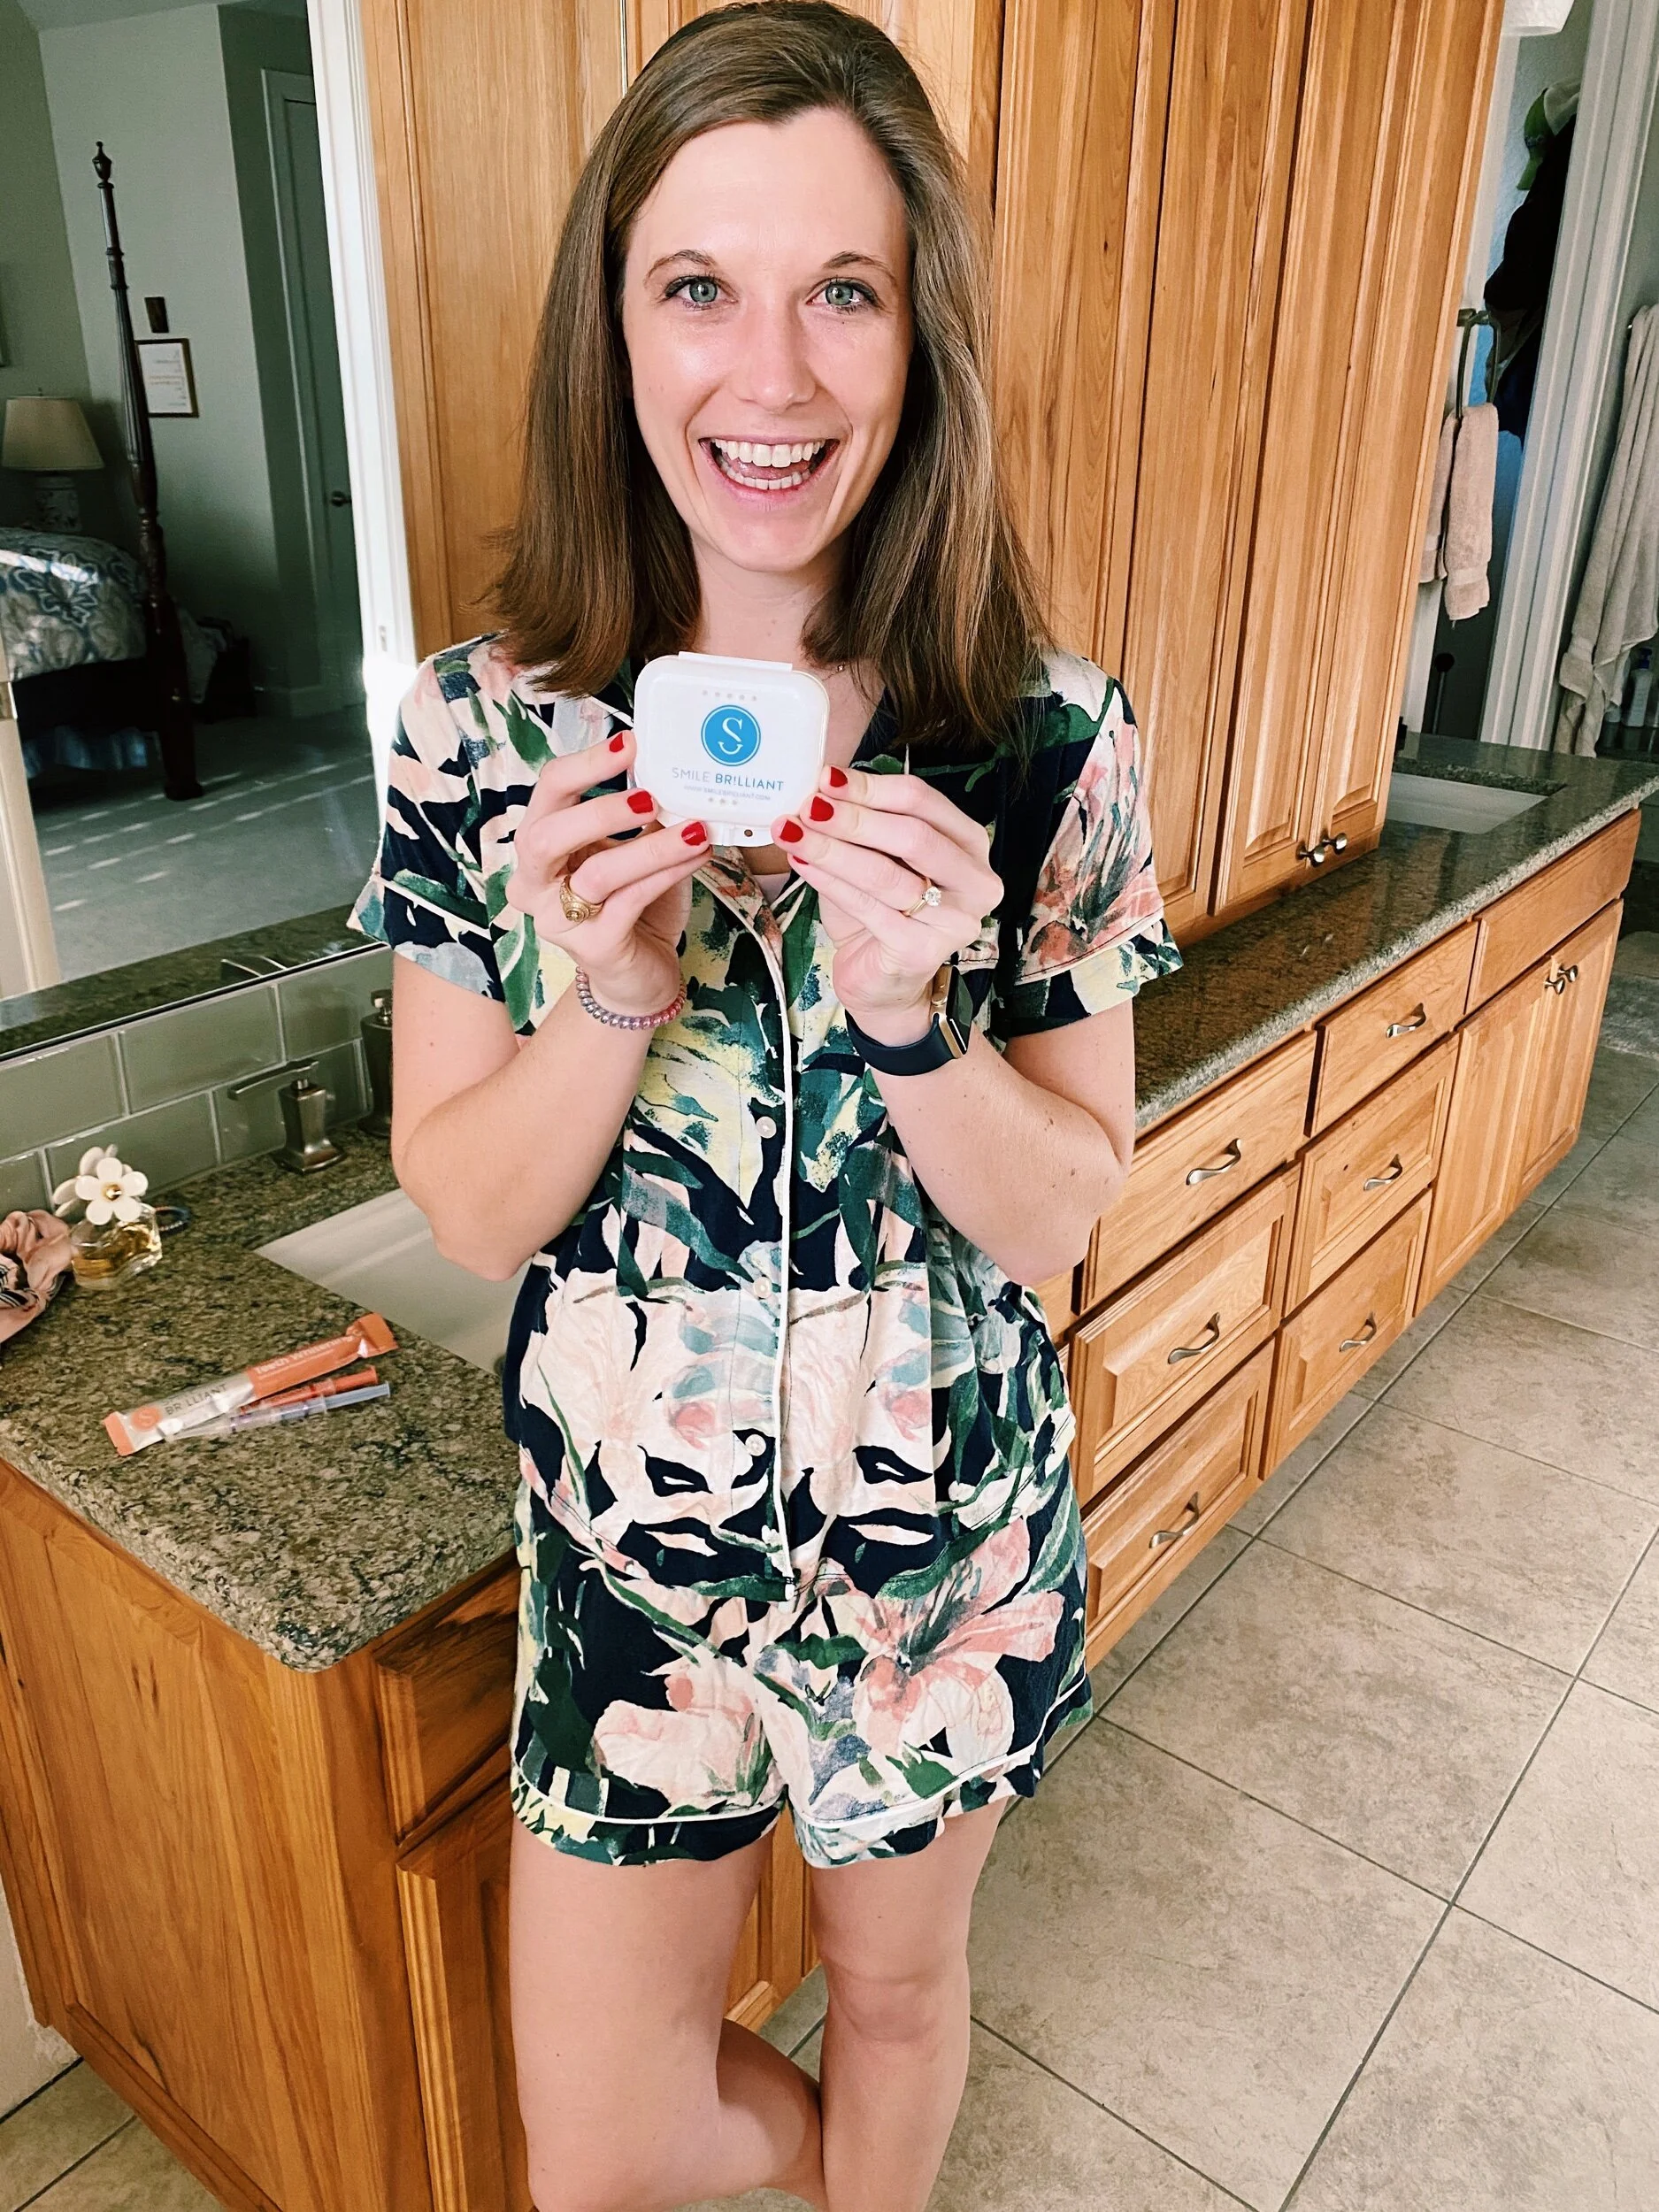
In considering a number of different options to whiten my teeth, I was approached by Smile Brilliant. Smile Brilliant is an innovative teeth whitening company based out of Saint Louis, Missouri. Their professional, custom, at home, teeth whitening process sounded intriguing, so I decided to give it a go!
THE PROCESS
Right off the bat, I loved how responsive and professional the Smile Brilliant Team was during our interactions. If I had questions, they had answers (and pamphlets and informational links). If I had concerns, they had advice about using the product. Good customer service goes a LONG way in my book, so my experience with the Smile Brilliant team was 10/10!
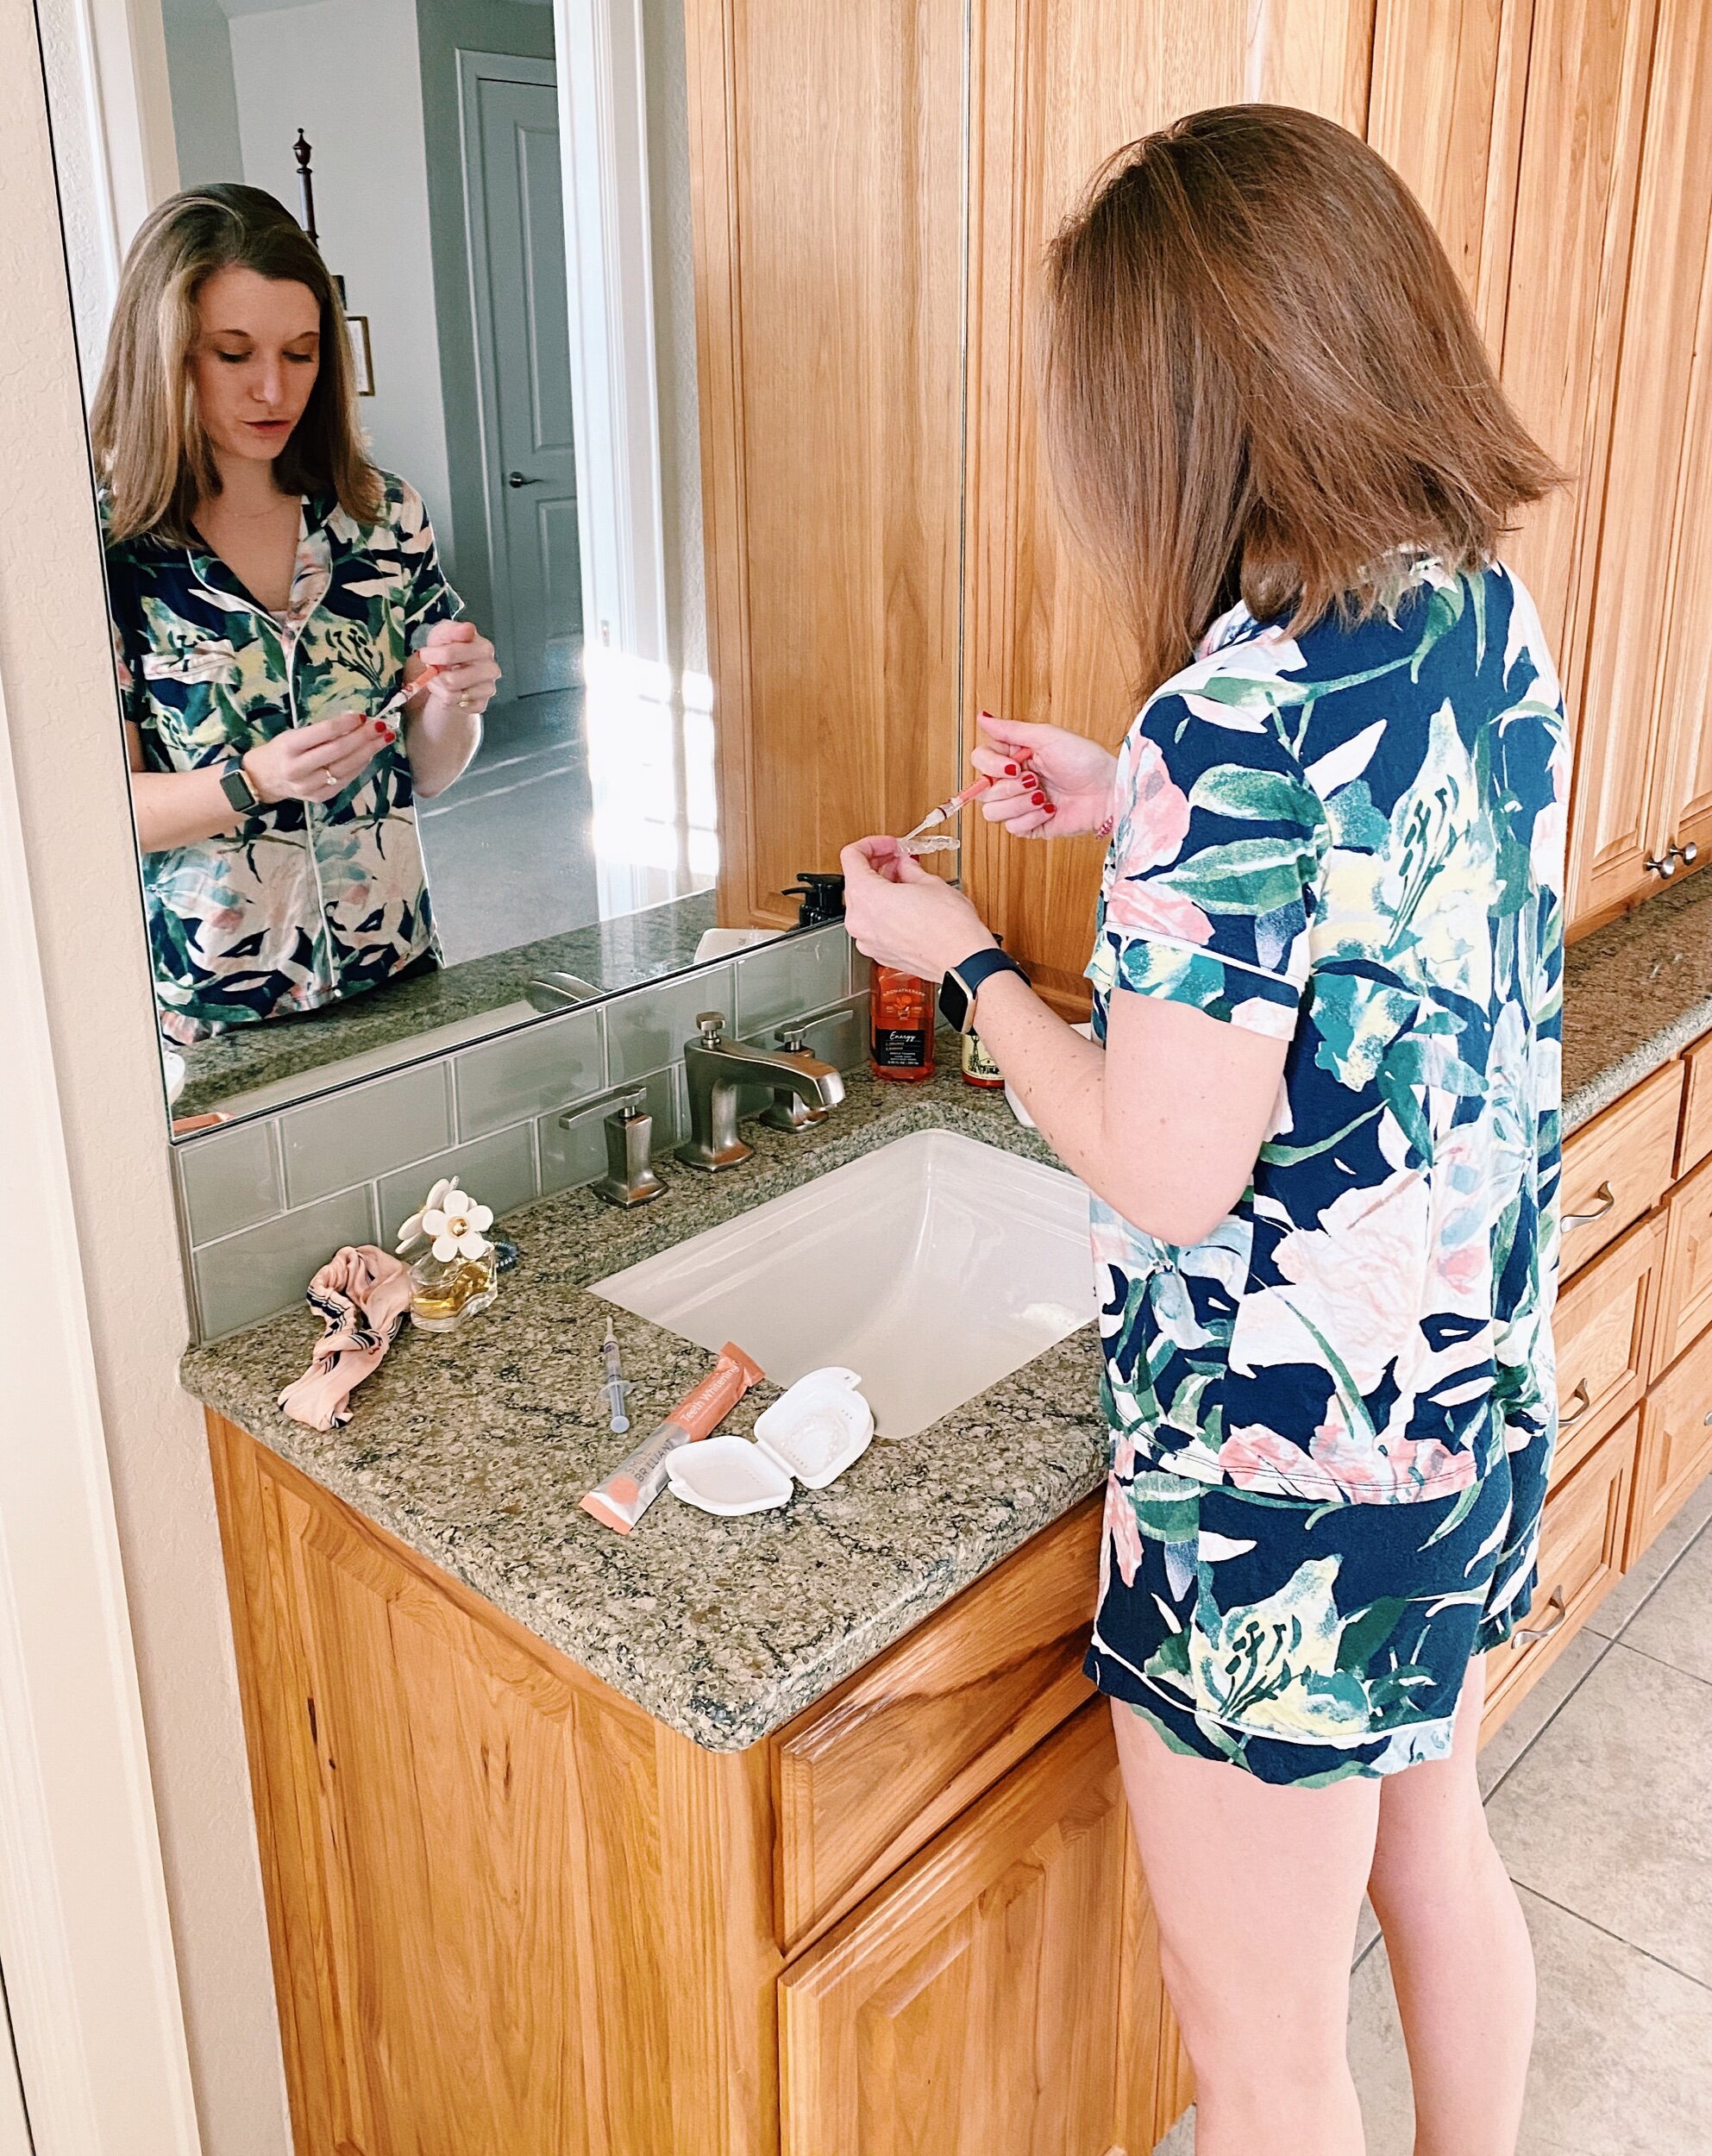
STEP ONE: Create your customized teeth molds. Smile Brilliant will send you an at-home starter kit with everything you need. This includes a putty you mix to create a teeth mold, the teeth whitening gel, desensitizing gel and the trays. Smile Brilliant includes step-by-step instructions on how to create and perfectly press your own teeth molds. Pro tip: Make sure you’re not doing this in a rush - it takes some time to mix the putty and make the molds.
STEP TWO: Send + receive your trays! Once you’ve created the molds, they’re sent off to a lab where your custom teeth whitening trays are created! AND - they’re made specifically to YOU (no strips sliding off of your teeth). The turnaround time is pretty quick - maybe 1 to 2 weeks.
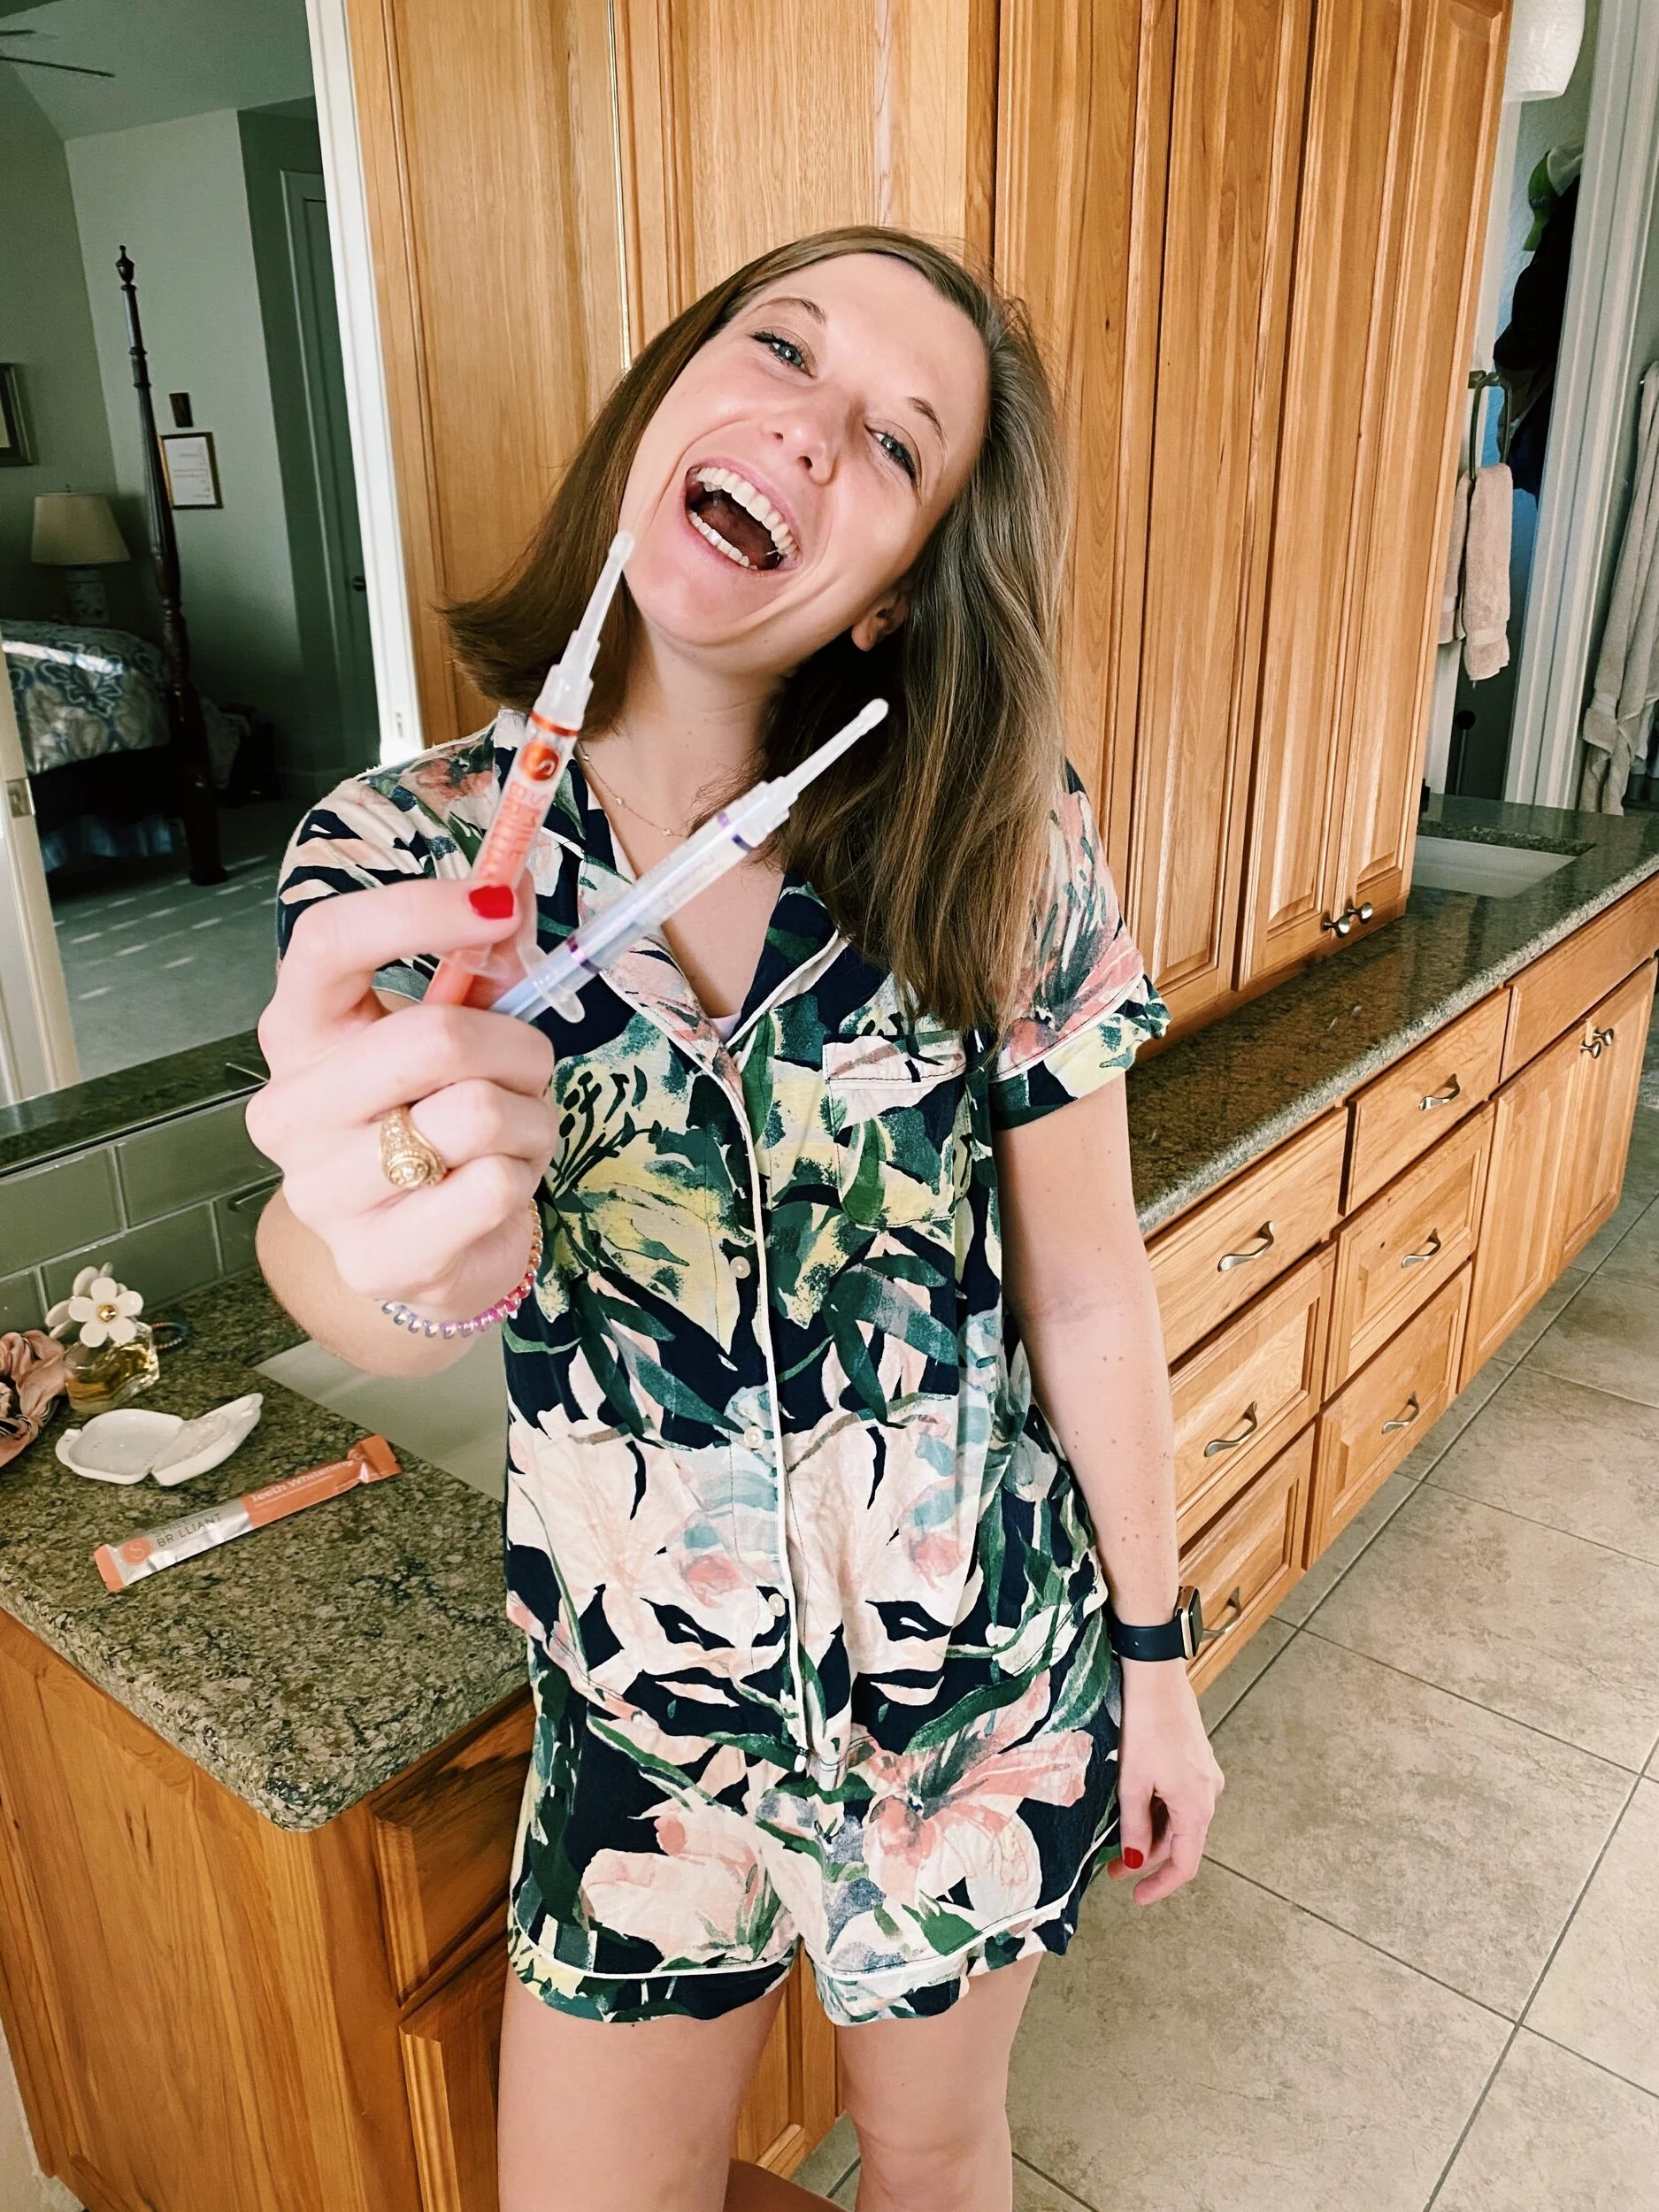
STEP THREE: Ready, set, whiten! Because I have sensitive teeth, I started the process with 2-3 sessions of just the desensitizing gel to prep my teeth. Then, I started with the whitening gel! Depending on your teeth sensitivity, you could do sessions ranging from 30 minutes to 2 hours with the whitening gel. Just be sure to use the desensitizing gel afterwards. I was able to get 4-5 uses out of each syringe. So, in theory, the process should take about 20ish days (depending on your consistency).
STEP FOUR: BE CONSISTENT. I started this process in the midst of the holiday season and it was tricky to keep up with the routine with all of my travel and late nights visiting with family. Be sure to set a routine and stick with it! Or, work around time you know you’ll be busy.
STEP FIVE: Show off those pearly whites! I’ve used different teeth whitening products in the past without noticing too much of a difference. Towards the end of my teeth whitening process with Smile Brilliant, I was able to truly notice a difference in my smile! Especially in photos. I’ve done a couple of double takes - impressive!
FINAL THOUGHTS
If you’re looking for an at-home teeth whitening process that actually works, try Smile Brilliant. The process is smooth and the results are noticeable. I also loved how they were considerate to people who experience teeth sensitivity (I was still able to eat ice-cream through the process). If I could do one thing differently, I would have started my sessions after the holiday season (so as to resume some routine normalcy). So, just like most things in life, you get out of it what you put into it! And, my wine lover nightmares have been squashed.
Curious to try Smile Brilliant for yourself? CLICK HERE and enter to win a free Smile Brilliant kit in my giveaway! And, grab 15% off their product(s) with code: livingandlocal15
Keep smiling!